Thermography for Material Testing
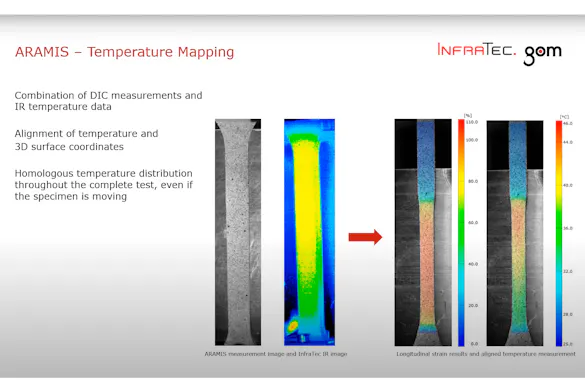
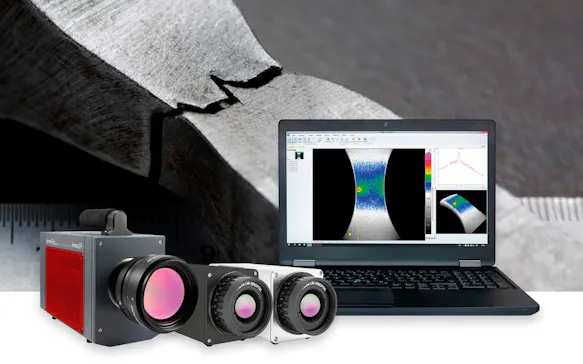
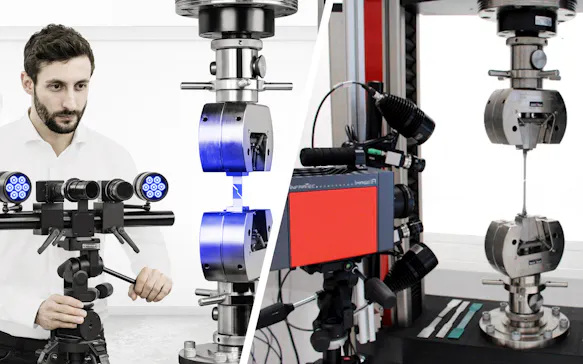
Thermography allows for the efficient and non-destructive inspection of many materials, components, and joints for defects. The method is used, for example, for process monitoring in additive manufacturing or – in combination with digital image correlation (DIC) – to inspect workpieces under mechanical stress.
Thermography is ideally suited for
Analyzing temperature differences inherent to the process or externally introduced heat flows,
Thermo-elastic stress analysis (TSA) to differentiate areas with varying mechanical loads,
Detecting deep-lying defects through pulsed excitation, and
Inline applications in continuous quality control.
Infrared Camera Systems Minimize Product Waste from Testing Procedures
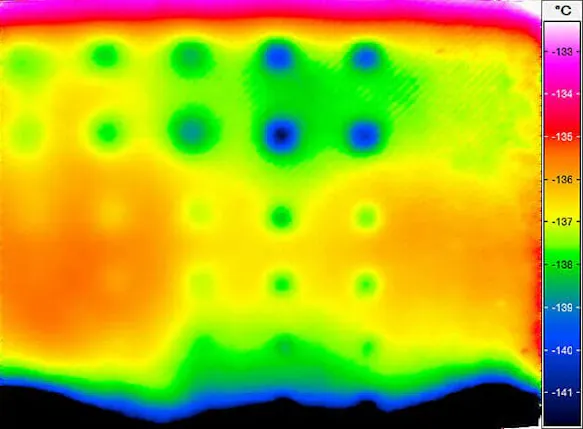
As part of non-destructive testing (NDT) or thermographic material testing, materials are examined for inhomogeneities and thermal properties, the presence and location of hidden components are verified, and joints are tested. NDT also includes the detection of cracks in materials and the functional testing of electrical assemblies.
The advantage of non-destructive testing is clear: because the test specimens remain intact, both time and costs are saved. Additional tests can be carried out, and quality defects can be corrected in a targeted manner.
The use of infrared thermography in the non-destructive testing of thermal properties offers many additional advantages. The method is suitable for a wide variety of materials and can detect a broad range of defects. Unlike methods such as ultrasonic testing (UT), thermography allows even large areas to be inspected in a single step.
Typical applications of thermography include
The use of thermal imaging technology enables comprehensive and highly efficient inspection of materials and components. As a result, new fields of application for thermography are continually emerging.
Passive Thermography and Active Heat-Flux Thermography for Defect Detection
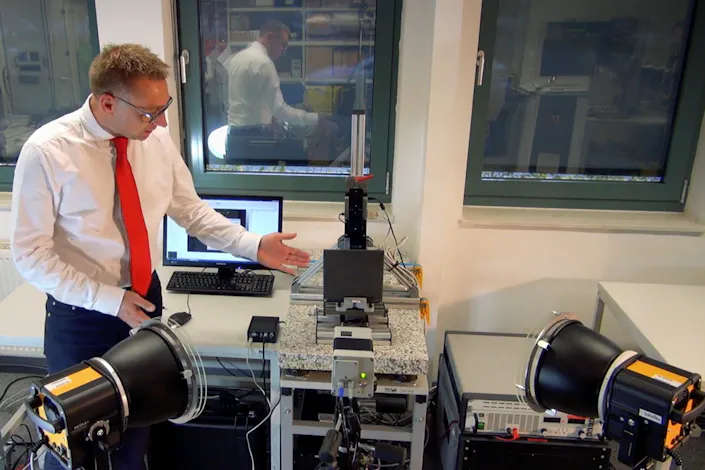
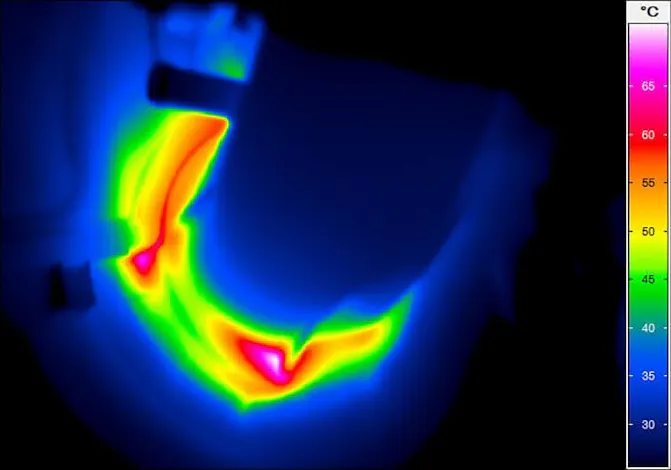
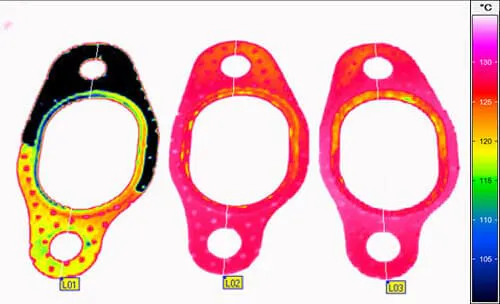
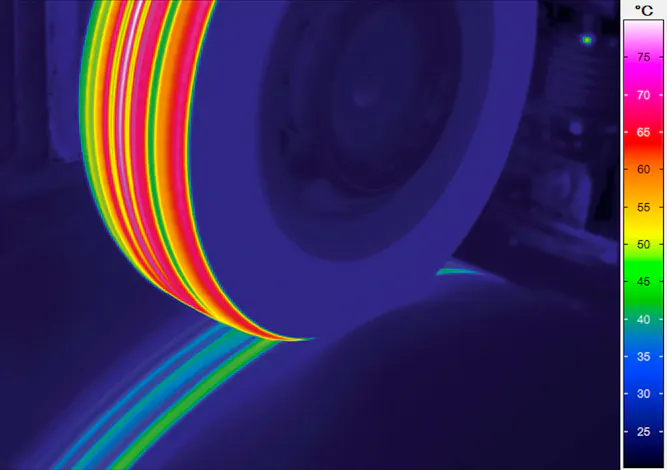
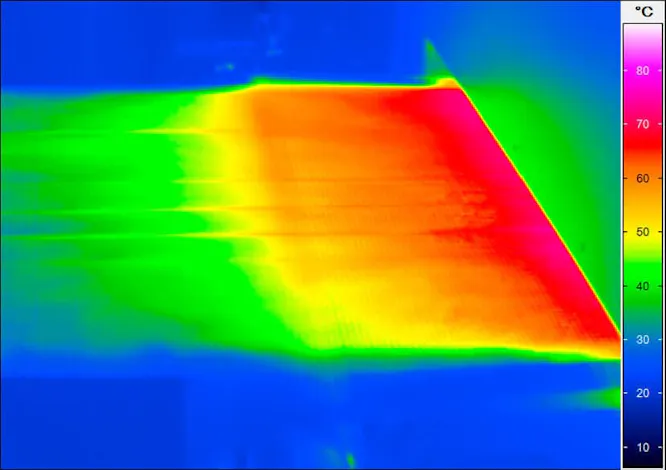
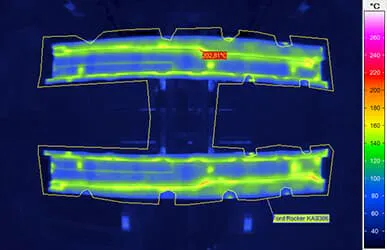
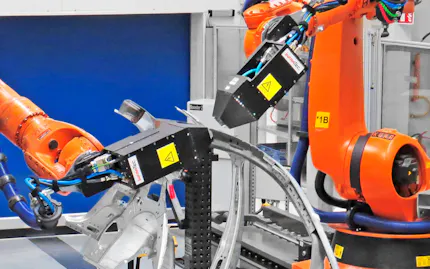
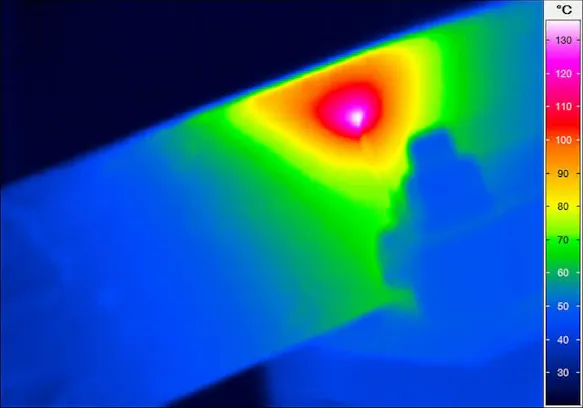
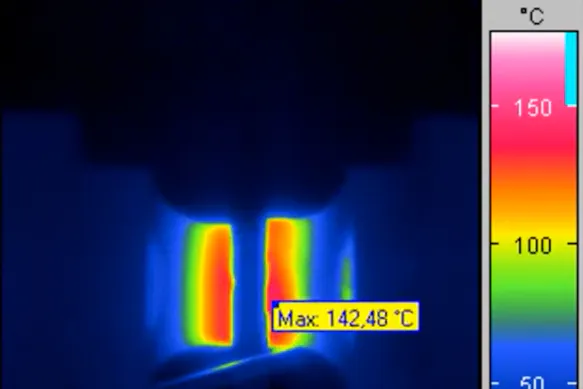
Both active and passive thermography are used in materials testing. Passive thermography can be applied when the temperature increase is caused directly by the production process, internal friction, chemical reactions, or similar effects. By contrast, if heat must be introduced externally in a targeted manner to generate measurable temperature effects, this is referred to as active thermography or active heat-flux thermography. Excitation can be provided, for example, by a flash lamp, a halogen lamp, or an electric current. The heat generated inside the test specimen flows toward the surface, and inclusions, cracks, or similar inhomogeneities appear as deviations in the temporal temperature profile, which can be recorded using a thermal imaging camera.
The choice between passive and active thermography therefore depends largely on whether the test object already has a measurable temperature distribution or whether energy must be introduced in a targeted manner to make thermal effects measurable.
Live Online Events 2026
Thermoelastic Stress Analysis
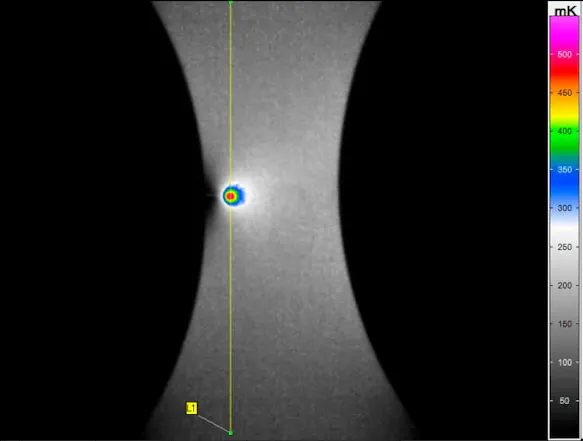
These tests, also known as material stress tests, are based on the thermoelastic effect. When a test specimen is subjected to mechanical loading, dynamic stresses develop within the material, manifesting as temperature differences on the surface. These differences can be measured using sensitive thermographic cameras. Lock-in thermography makes it possible to detect even extremely small temperature changes of less than one millikelvin.
Monitoring and Defect Detection in Additive Manufacturing

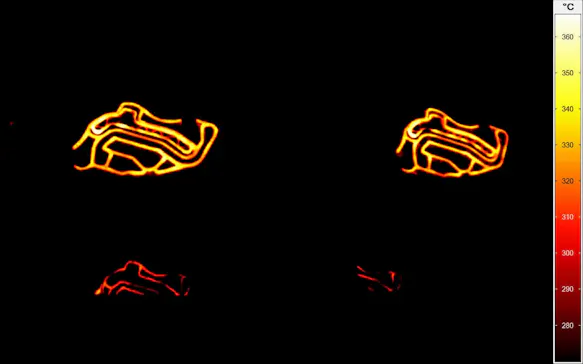
In additive manufacturing, also known as 3D printing, material is applied layer by layer. Passive thermography can be used to monitor cooling and curing processes, while active thermography helps detect defects such as voids or inclusions in the material.
Inspection of Fiber-Reinforced Composites and Verification of Adhesive and Sealed Joints
Lightweight construction is used in countless industrial sectors. Thermography can be used to determine whether fiber-reinforced composites possess the desired properties and whether the material contains defects. The quality of sealed joints can also be assessed on the basis of the temperature distribution immediately after sealing.
Learn more about thermography for inspecting adhesive and sealed joints
Quality Assurance in the Coating of Sheet Metal, Films, Glass, and Other Materials

Thermography enables the inspection of the uniformity and thickness of liquid coatings such as water, oil, and adhesive layers. In addition, the properties of a wide range of functional coatings made of metals, semiconductors, dielectrics, organic materials, and nanomaterials can be evaluated using thermography.
Defect Detection in Electronic Components

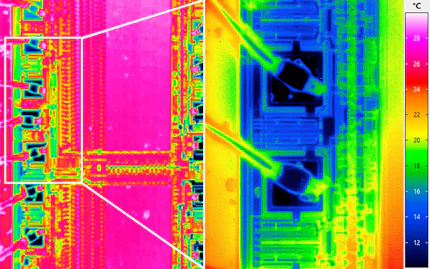
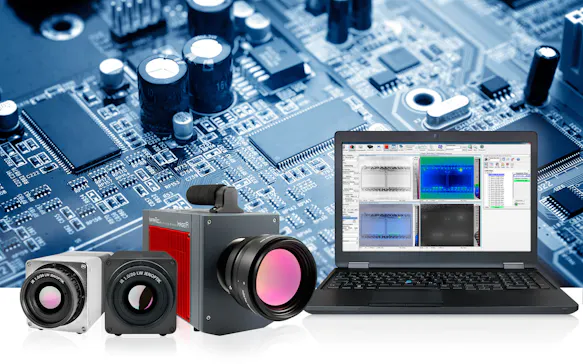
In electronic components, current flow causes heating due to ohmic resistance. Active thermography can be used to visualize areas of increased resistance caused by defects or poor connections.
Online Events On Demand
Efficient Material Testing – Non-destructive and Contactless
Theoretical background – mechanical force, stress and temperature Methods for analysis
Examples from practice with application samples – elastic periodical load test and fatigue test
Short overview about InfraTec products
Complementary technical lecture
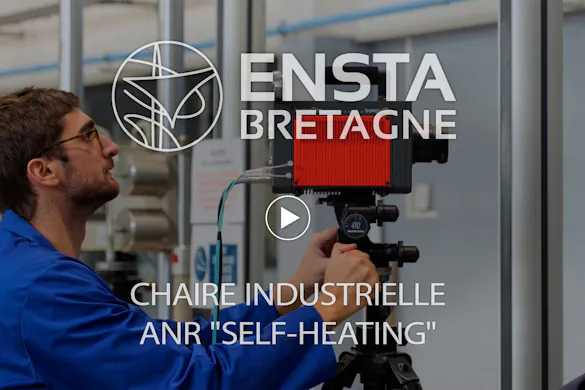
"Contribution of Thermoelastic Stress Analysis in mechanics of materials and structures: some illustrations" from Prof. Vincent Le Saux, École Nationale Supérieure de Techniques Avancées Bretagne
Thermography and Digital Image Correlation – A Winning Team in the Materials and Components Testing Field.
Active thermography for non-destructive testing
Synchronizing high-tech sensors: ZEISS/GOM ARAMIS and infrared cameras from InfraTec
Tracking of temperature on homologous points in 3D space
Applications in materials, components and electronic testing
Complementary technical lecture "The IGI EcoMapper – High-Precision Aerial Survey in Five Spectral" from Dr. rer. nat. Jens Kremer, Manager R&D, IGI mbH, Germany
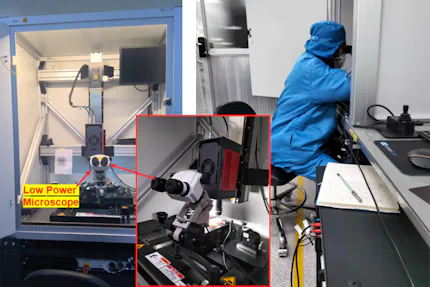
Infrared Lock-in Thermography for Inspection of Electronics and Integrated Circuits
Failure analysis and defect inspection, quality and process control and flexible R&D solution
Hotspot detection on printed circuit boards, integrated circuits, semiconductor material and multi-chip modules
Detection of faulty thermal connections of heat sinks, short circuits, soldering defects and wire bonding errors
Complementary technical lecture Semiconductor IR-LIT Analytics – Challenges and Case Studies from Marko Hoffmann; Infineon Technologies Dresden GmbH & Co. KG
Applications for Thermal Imaging on Wind Power Systems
General information about infrared thermography and presentation of different infrared camera techniques
Monitoring wind turbine power plants by (passive) thermography
Principle & methods of active thermography and examples
Technical Lecture “Inspection of Wind Turbine Blades with Ground-based Passive Thermography” from Michael Stamm, Federal Institute for Materials Research and Testing (BAM)


Would You Like to Know More?
It is not unusual for tasks to be associated with special requirements. Discuss your specific application needs with our specialists, receive further technical information or learn more about our additional services.
Lock-In Thermography is Integrated in IRBIS® 3 Software
Active thermography can detect defects even more precisely when the activation of the test object will be carried out in a pulsed mode. Thereby it will be possible to detect faults which are located in deeper subsurface layers. Such analysis algorithms like the one of lock-in thermography are already available as a module of the IRBIS® 3 software family. The adaptation to the specific application can be done quite easily with flexibility. InfraTec can also provide customer specific and complete active thermography test solutions.

