Thermography in Additive Manufacturing
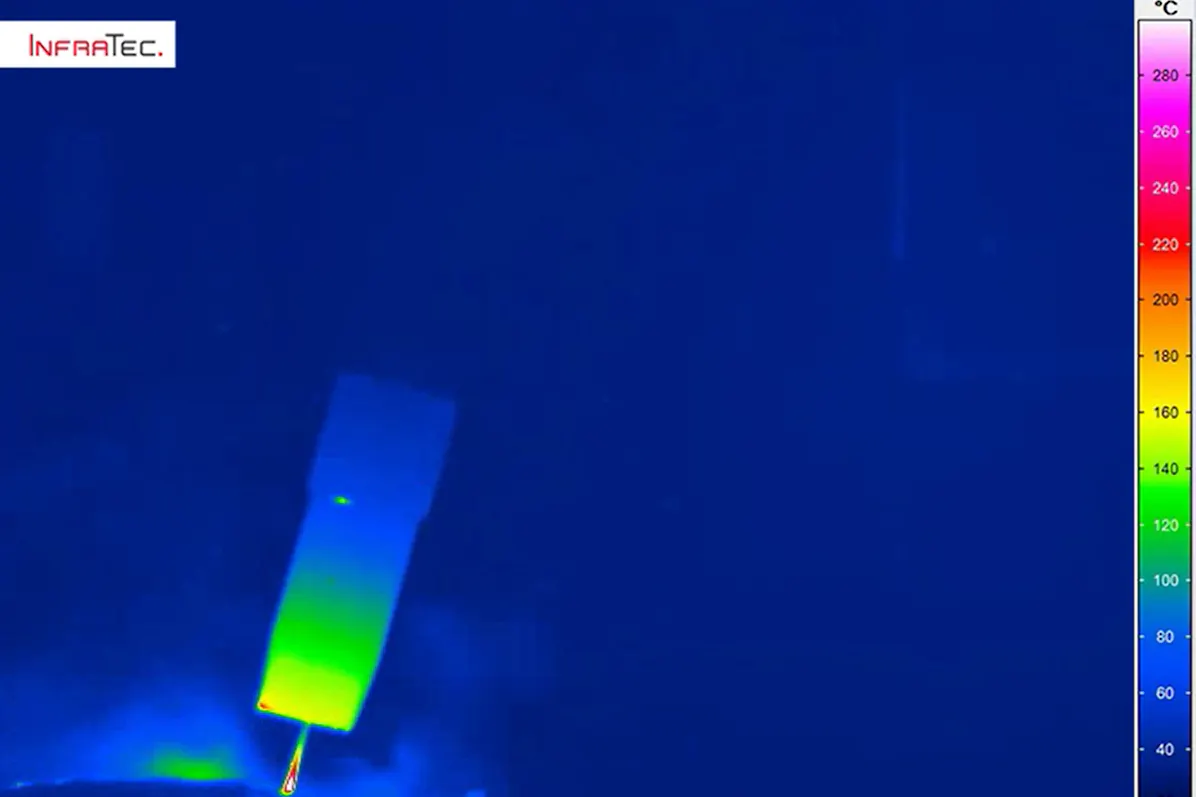
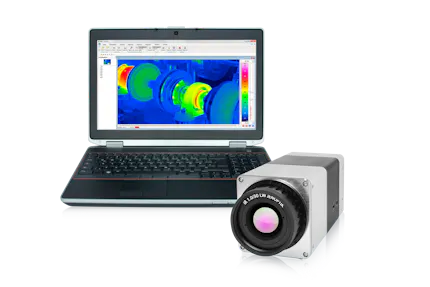
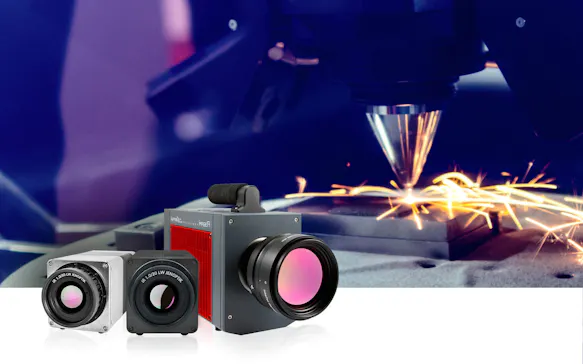
In additive manufacturing, temperature is one of the factors on which the quality of the final product depends. Thermal imaging cameras record temperature developments and deviations in real time and enable rapid intervention in the ongoing process.
Thermography can be used for
Laser powder bed fusion for 3D printing of metals (laser power-bed fusion, LPBF/SLM/DMLS),
Fused deposition modeling,
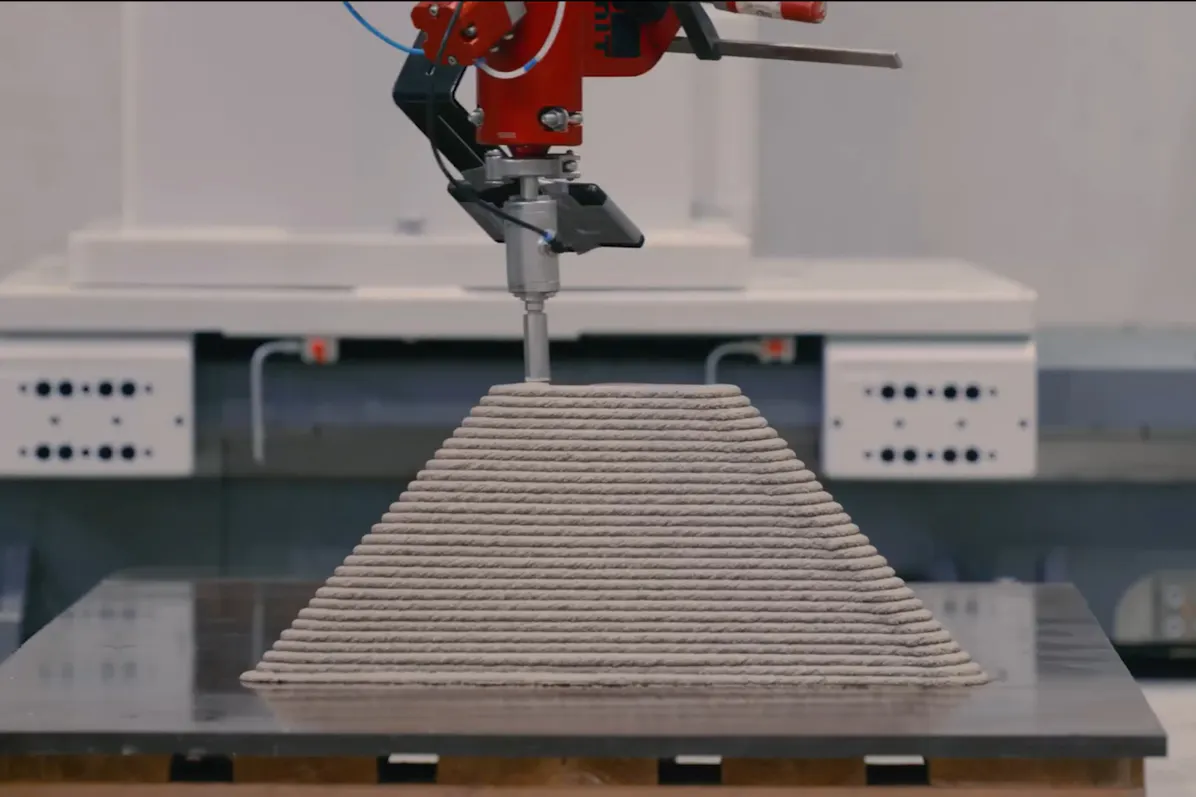
Material extrusion with granulate (FGF/pellet extrusion)
and for other processes.
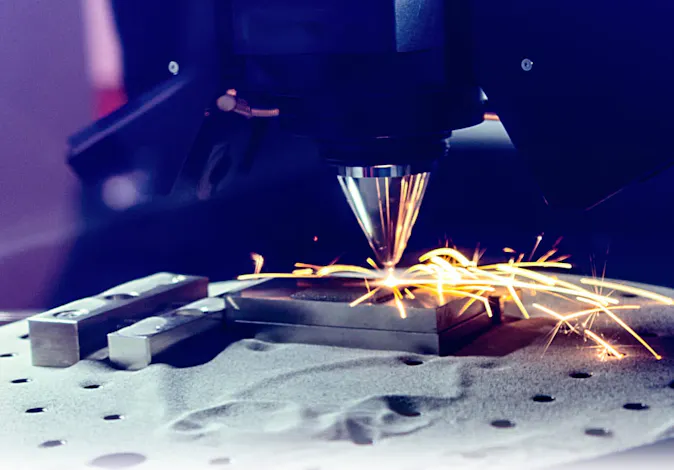
Monitored Process Control and Quality Assurance
Additive manufacturing – also known as 3D printing – refers to manufacturing processes in which material is applied layer by layer to create three-dimensional objects. Thereby chemical and physical hardening and melting processes take place, in which temperature plays a decisive role. Infrared cameras can be used for systematic monitoring of the entire manufacturing and processing process, as well as for quality control. They record temperature developments and deviations in real time and enable rapid intervention in the ongoing process.
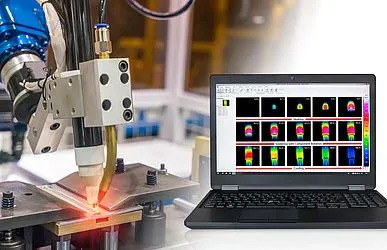
Numerous of these manufacturing processes are based on laser technologies such as laser melting, sintering or build-up welding. Other processes, such as binder jetting, are completed by a sintering pass to fully cure the material. Temperature also plays a decisive role in thermal spraying for achieving the best possible surface hardness and optimum non-stick properties. In order to localize and detail thermal conspicuities in these processes, InfraTec infrared cameras support the determination and subsequent adherence to thermal process parameters by in-line monitoring. Infrared cameras can be integrated directly into the process control system to enable a non-contact and non-invasive temperature measurement.
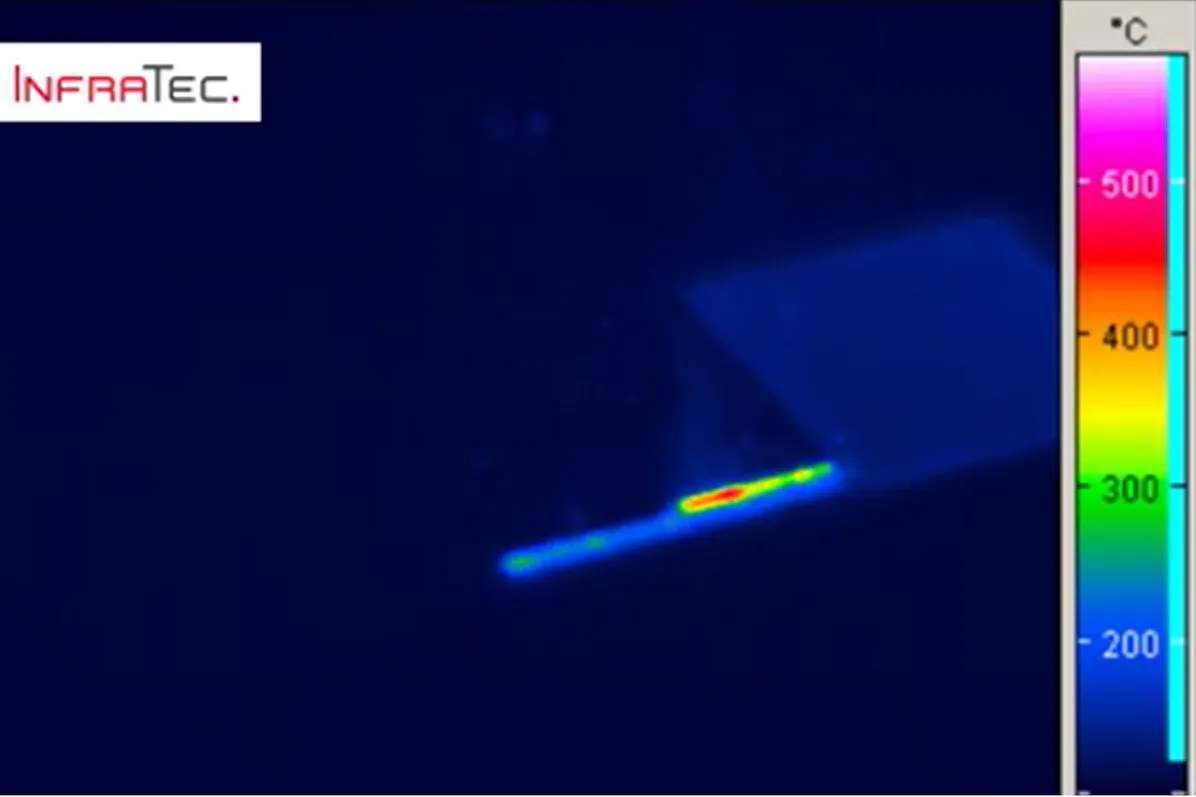
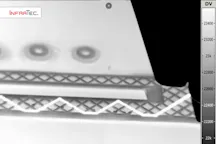
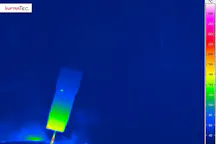
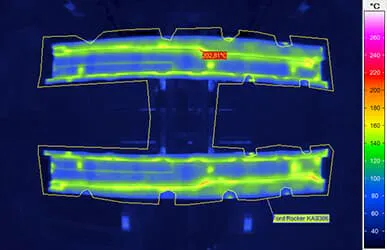
Here, the detection of the temperature distribution of the powder bed surface and the measurement of melting temperatures are relevant in most cases. Both can be realized for temperature ranges higher than 2,000 °C and while the laser is working (in-situ measurement).
Close monitoring of machines, processing plants, materials and temperatures during the production and processing of additive parts is of fundamental importance both in industry and in research. The mapping of heat flows in components is necessary for a complete understanding of the process and allows precise control of the temperature development in the parts and materials to be processed as well as exact thermal control of the process. An early detection of errors in production is therefore possible, rejects are actively avoided, and returns are minimized.
Furthermore, process and cycle times can be significantly optimized and correlations between process parameters and (melting) temperatures can be derived.
Online Events On Demand: Thermography in Additive Manufacturing
Optimising Additive Manufacturing Technologies Using Thermography
Additive manufacturing: definition, benefits, types, presence and future
Challenges in additive manufacturing of metals
Use of thermography to improve manufacturing technologies
Complementary technical lecture "Influence of Laser Intensity Distribution on Process- and Parts Properties in the L-PBF – New Process Insights through Thermography" from Dr.-Ing. Florian Eibl, Aconity 3D GmbH
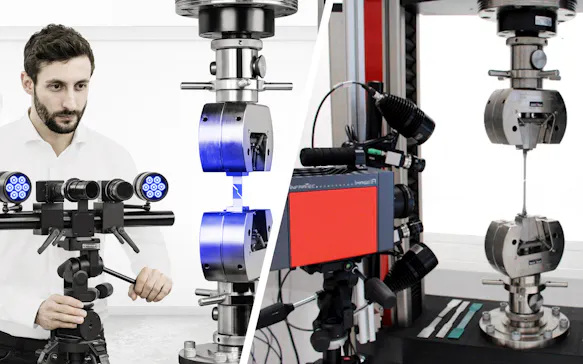
Thermography and Digital Image Correlation – A Winning Team in the Materials and Components Testing Field.
Active thermography for non-destructive testing
Synchronizing high-tech sensors: ZEISS/GOM ARAMIS and infrared cameras from InfraTec
Tracking of temperature on homologous points in 3D space
Applications in materials, components and electronic testing
Complementary technical lecture "The IGI EcoMapper – High-Precision Aerial Survey in Five Spectral" from Dr. rer. nat. Jens Kremer, Manager R&D, IGI mbH, Germany
Laser Technologies Benefiting from Infrared Thermography
Overview of laser applications and types
Fields of application for thermography in laser technologies
Technical requirements for thermographic cameras, software and accessories for successful implementation in in laser technologies
Technical Lecture “Lasers: A Versatile Heat Source for Modern Active Thermographic Testing” from Dr.-Ing. Julien Lecompagnon, Federal Institute for Materials Research and Testing (BAM)

High-speed Thermography in Highest Quality
Special features and the potential of high-speed thermal imaging
Presentation of technical solutions and InfraTec camera models
Explanation of important parameters and their influence on thermal imaging
Presentation of various functions to adapt your camera to the application requirements
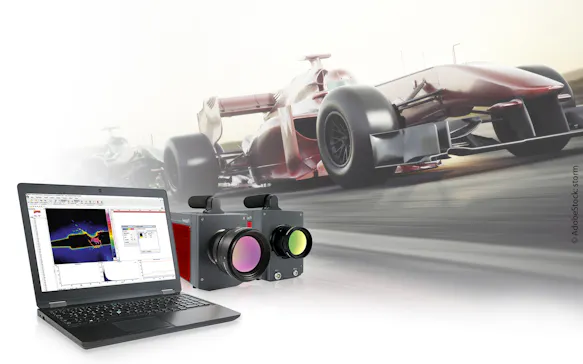
Requirements for Infrared Cameras in Laser Based Additive Manufacturing
Due to the characteristics of lasers in additive manufacturing, the infrared cameras used must meet specific requirements. This applies, for example, with regard to the temporal resolution.
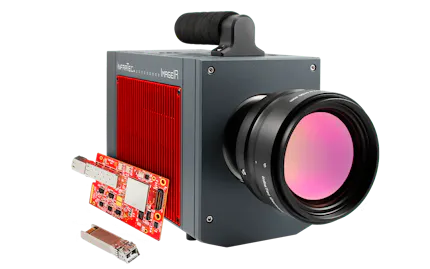
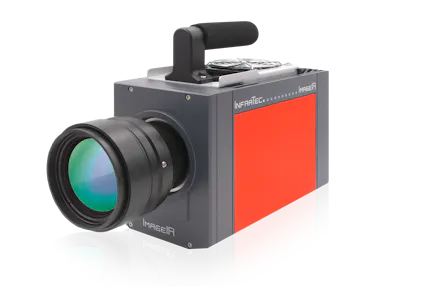
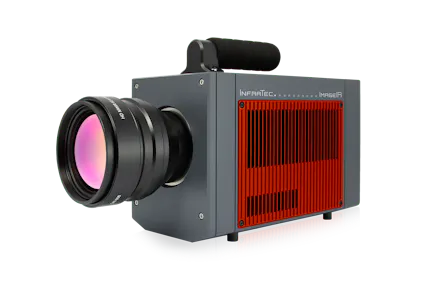
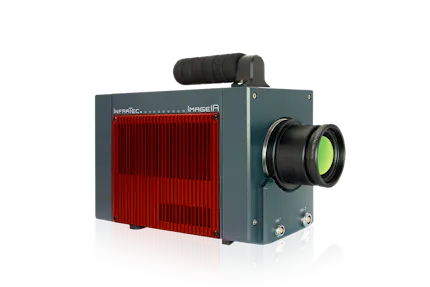
Working with a laser is typically characterized by short laser interaction times, where heat input takes place within fractions of a second. In addition, the heat applied spreads very quickly, especially in metals, due to the high heat diffusion rate in the material. This requires measurements with high frame rates in full-frame and subwindow modes. Particularly in micromaterial processing with pulsed laser light, the demands on thermography systems are very high. The cameras in the ImageIR® series, for example, are suitable for this application, as they can image high-speed processes with a large image format and a high frame rate of up to 1,004 Hz.
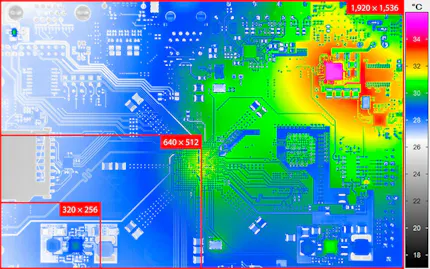
The thermal and geometric resolution of infrared cameras is equally important. Depending on the process and material, lasers can be used to create very large or very small temperature differences, which must be monitored continuously and very precisely. Here InfraTec offers different camera functions, such as HighSense mode, HDR function, High-speed mode and geometric resolutions in the HD range.
The volumetric energy density (VED) is used as a measure of energy input, particularly in laser powder bed fusion (LPBF). It is a variable that depends, among other factors, on the laser power. Although thermal signatures cannot be measured directly with an infrared camera, they are strongly correlated with the physical effects of VED. This correlation allows conclusions to be drawn about the energy input, enabling process optimization.

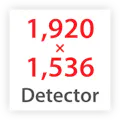
Efficient measurement of smallest structures on large-scale objects
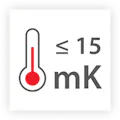
Precise detection of smallest temperature differences

Analysis of high-speed dynamic temperature changes and processes

Transmission and storage of large amounts of measurement data on a computer in very short time

Constant excellent optical and metrological performance even in harsh industrial environments
Materials in 3D Manufacturing
In industrial additive manufacturing, different materials are used depending on the area of application, primarily plastics, metals, and ceramics.
Plastics (mostly polymers) are used in particular for the 3D production of prototypes and functional parts (protective caps, clips, seals, etc.). Metals (such as stainless and tool steels, titanium, and alloys of nickel, aluminum, copper etc.) are used in additive manufacturing primarily to produce complex components for aviation, medicine, and mechanical engineering. Where exceptional hardness or high temperature and chemical resistance are required, ceramic materials (aluminum oxide, zirconium oxide, silicon nitride and silicon carbide) are increasingly being used.
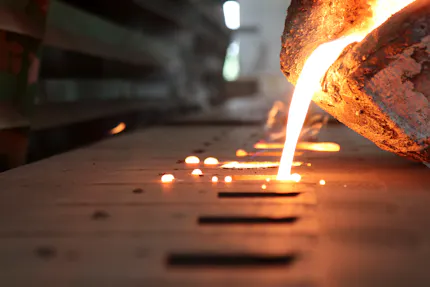
All materials used for additive manufacturing must be liquefied for layer-by-layer application or be able to be applied as a powder in an emulsion or a viscous mixture with an adhesive. Depending on the material, curing can be carried out in situ with a laser or another energy source, or alternatively afterward, for example by sintering.
Additive Manufacturing of Ceramics
As with other additive processes, thermal imaging can also be used in 3D printing of ceramics for non-destructive inline process monitoring and quality assurance. By measuring the temperature distribution, inhomogeneities in layer structure, irregularities in drying and cooling, or local overheating during the curing process can be detected. Thermography can also be used to optimize process parameters in 3D printing. The measured temperature curves allow conclusions to be drawn regarding adjustments to the printing speed, layer thickness, or energy input (for example, in sintering processes or photopolymer-based processes).
The selection of the appropriate infrared camera or camera system depends on factors such as the needed temperature resolution, measurement accuracy, and the specific requirements of the printing process.
Applied Methods and Ceramics
The choice of manufacturing process depends on the targeted properties of the ceramic part, with methods such as laser sintering, Digital Light Processing (DLP), or 3D powder printing (for example, binder jetting) being used. Ceramic materials are applied layer by layer as powders, slurries, or pastes, with the layers subsequently being crosslinked or cured. Polymerizable organic binders often play a central role in this process.
Crosslinking can be achieved through light, chemical reaction, or heat application. The finished product of additive manufacturing with ceramics is usually a so-called green body or green compact – a blank that only reaches its intended size through shrinkage during drying and sintering.
Laser-based methods are particularly well suited for process monitoring with infrared cameras. In 3D powder printing, thermography can be used to observe the drying of green parts and draw conclusions about defects. Since only very small temperature differences occur during crosslinking in the DLP process, thermography is particularly helpful in exothermic polymerization reactions.
Various materials can be used for the additive manufacturing of ceramics, including
Oxides (Al2O3, ZrO2, SiO2)
Carbides (SiC)
Nitrides (Si3N4, BN)
Glass ceramics
Bioceramics
When using thermography, attention must be paid to the emissivity properties and surface characteristics of these materials in order to ensure high measurement accuracy and reproducibility, for example by selecting appropriately adapted cameras.

Ceramics – Promising Materials
While additive manufacturing for plastics and metals is already widely used in industry, processes involving ceramic materials are becoming increasingly important. 3D printing of ceramics offers many benefits. Additive manufacturing can be used to:
Produce component geometries that are not possible with conventional processes,
Manufacture customized individual items such as implants or small series without high tooling costs, and
Produce components with spatially resolved property profiles.
Ceramics open up many possible applications, as their properties are often superior to those of other materials: they are biocompatible, wear-resistant, temperature-resistant, electrically non-conductive, and chemically resistant.
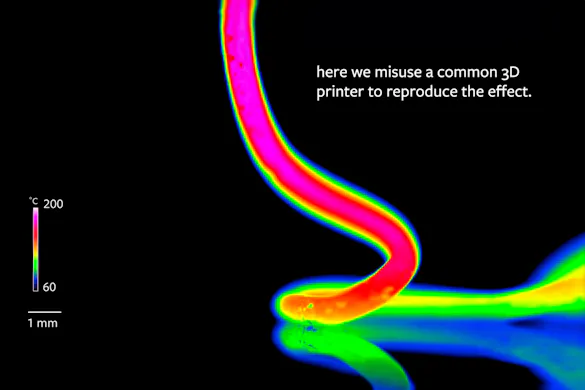
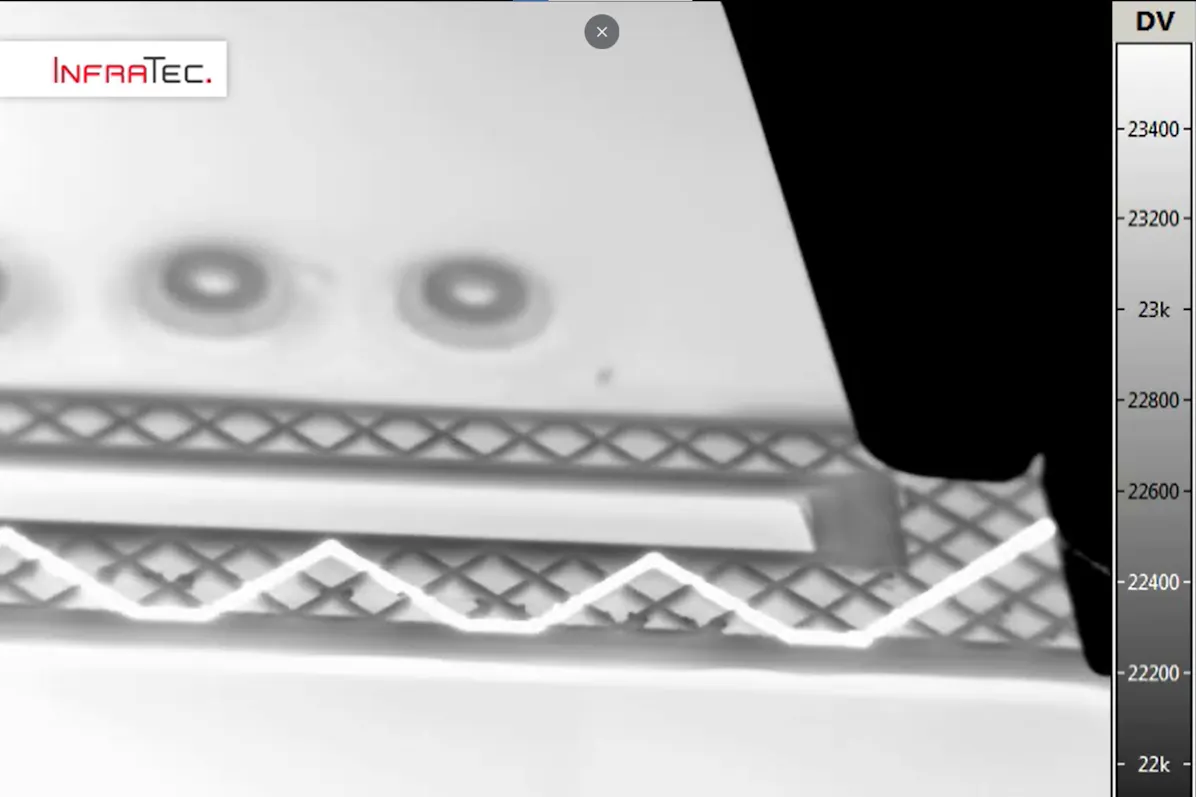
Thermal Videos about Additive Manufacturing
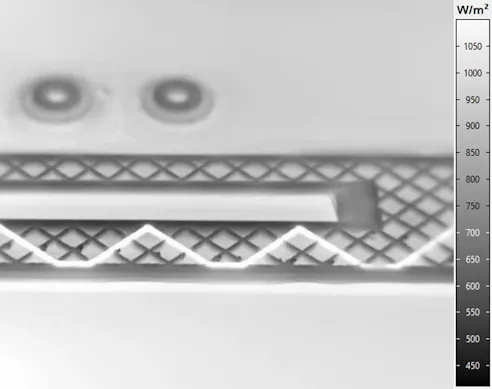
Reliable Localisation and Detailed Mapping of Thermal Anomalies
By in-line monitoring of thermal process parameters, infrared cameras from InfraTec support the optimisation of additive manufacturing processes.
Non-contact and non-reactive temperature measurement
Mapping of heat flows in components to gain a complete understanding of the process
Precise control of heating and cooling of the materials to be processed
Monitoring of defined energy inputs and reduction of thermal load
Precise thermal and even spatial control of the process due to high-speed data acquisition, high geometric resolution and delay-free triggering
Complete recording, documentation and evaluation of temperature distributions to determine the optimum energy input by the laser

Would You Like to Know More?
It is not unusual for tasks to be associated with special requirements. Discuss your specific application needs with our specialists, receive further technical information or learn more about our additional services.
Overview of InfraTec Services
Cooled and uncooled high-end thermographic cameras for the solution of complex tasks
Various detector formats with up to (2,560 × 2,048) IR pixels and wide temperature measurement ranges
Modular design for optimal adaptation to the measurement and test situation (also OEM solutions available)
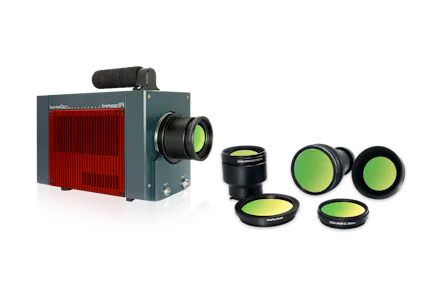
Complete range of precision interchangeable lenses with first-class transmission quality
Integrated solutions including accessories and software for R&D and process control
First-class service to ensure high system availability
Innovative measurement technology with more than 30 years of expertise
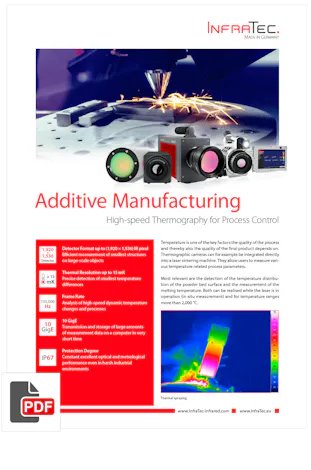
Download Flyer Additive Manufacturing
Get all the information you need at a glance in our product flyers
