Combination of Digital Image Correlation and Thermographic Measurements
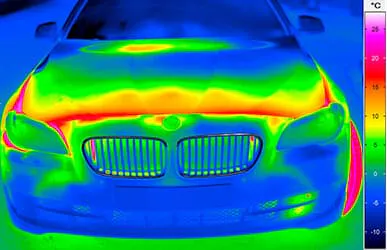
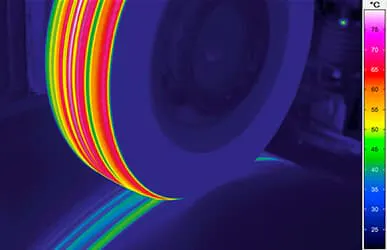
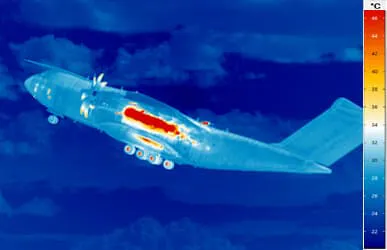
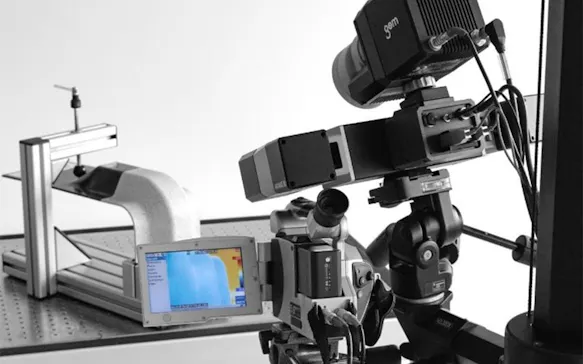
The combination of measuring results from the digital image correlation (ARAMIS, DIC) and temperature measuring data from infrared cameras enables the simultaneous analysis of the thermal and mechanical behavior of test specimens in the materials and components testing field.

Digital Image Correlation (DIC) – GOM ARAMIS
The ARAMIS system measures by using a contact-free and material-independent method based on the principle of digital image correlation. The images of the test specimens under load that were recorded with high-resolution cameras or high-speed cameras are evaluated. The system determines the gray value distribution for thousands of subsections in each camera image and gives the subpixel-accurate positions of the corresponding measuring points in all images, from which then the 3D coordinates are calculated by triangulation.
The evaluation of this surface information for all load levels during the time in the 3D space delivers the exact X, Y and Z displacements, velocities and accelerations. Furthermore, ARAMIS determines from the 3D coordinates the surface strains, such as, major and minor strain. Proceeding from these measuring data, material parameters are determined, numerical simulations are validated and component motions and deformations are analyzed. The ARAMIS system can be used for specimen sizes in the range from several square millimeters to several square meters and supports both high-definition and high-speed cameras with frame rates up to more than 1,000,000 Hz.
Infrared Thermography – InfraTec
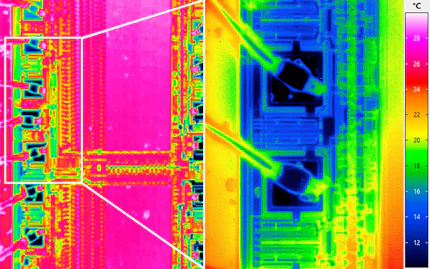
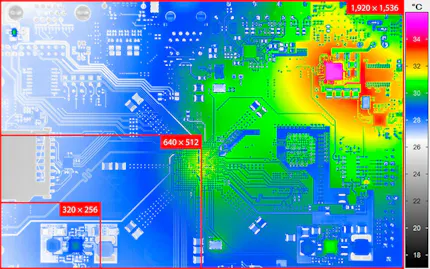
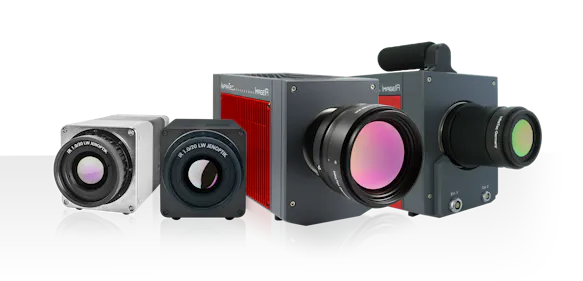
The thermography systems of the VarioCAM® HD series and the ImageIR® series with the latest detector technology are characterized by excellent metrological properties. The thermography cameras achieve a spatial resolution up to (2,560 x 2,048) IR pixels. This allows images and sequences to be created with unmatched spatial resolution, effectively avoiding geometrical measuring errors. Due to the excellent thermal resolution of up to 20 mK, even the smallest temperature differences can be accurately represented.
The optical path of the cameras consists of exchangeable infrared lenses, which can be equipped with a motor focus unit. Fast and precise focusing is achieved via the camera operating software. You can choose between the autofocus function and manual focusing. The use of infrared lenses with f/1.0 concept and very high luminous intensity enables the creation of thermograms that are free of undesired warm aperture effects or image inhomogeneities.
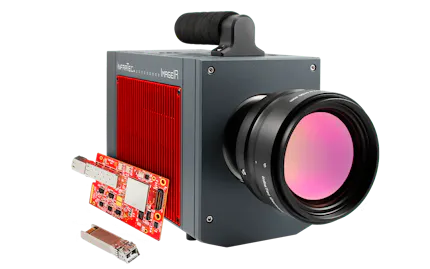
The specially developed calibration algorithm, featuring one main and two secondary characteristic curves, serves to compensate for varying ambient temperatures and enables repeatable measurements even under changing thermal conditions. Control and data storage are carried out via industrial Ethernet interfaces (GigE and 10 GigE). Thus, high-frequency infrared sequences can be recorded fully radiometrically with up to 105 kHz. The temperature data are stored with the X/Y coordinate. Due to the delay-free triggering, synchronization with external processes as well as external cameras is possible, which enables clear assignment of the resulting data (temperature values and digital image data).
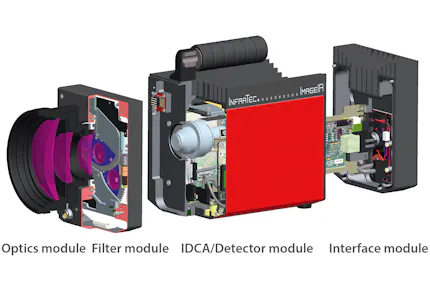
The modular basic concept of the thermography systems consisting of optical, detector and interface modules allows an individual system configuration and an optimal adaptation of the performance data to the respective task. The light metal housings with their compact design and high protection degree (up to IP67) enable easy integration into existing systems, even in harsh industrial environments.
Choose Your Infrared Camera
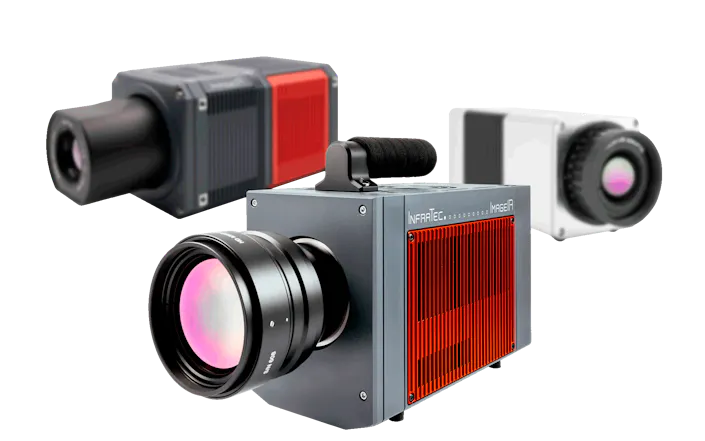
Choose from more than 30 infrared camera models. Our product range includes includes compact and system cameras, high-end systems as well as zoom cameras and OEM solutions.
Synchronizing both Measurement Methods
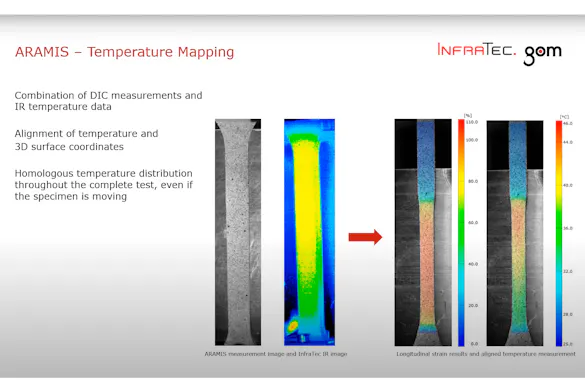
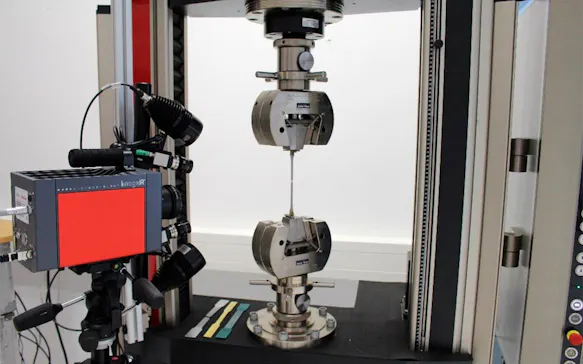
In order to be able to combine the two measuring results, the ARAMIS 3D sensor and the IR camera are pointing to the same area of the specimen surface that is to be measured, and the image acquisition of both systems is synchronized with an electrical trigger signal.
The temperature and the 3D coordinate results are combined in the ARAMIS Professional software, so that a temperature value is assigned to each 3D coordinate. In this way, the temperature change on the surface is analyzed over the entire test period and is evaluated in relation to the 3D displacements and the 3D surface strains. Thus, the separate analysis of the thermal changes and mechanical deformations is possible.
Typical Applications
Tensile Test
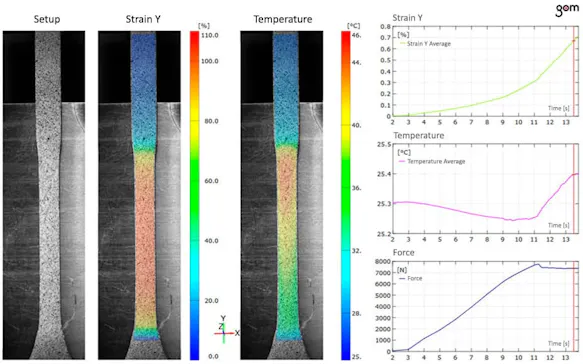
The determining of the material parameters in quasistatic tensile tests with ARAMIS is described under YouTube, so that in this application example only the further results from the combination of ARAMIS and the thermography are dealt with.
In the quasistatic tensile test, the combination of the two measurement methods makes the synchronized and place-bound analysis of the strain results with the temperature of the test specimen surface possible. During the initial phase of the tensile test (elastic strain area and shortly afterwards – the above diagram), it can be established with the help of the thermographic evaluation at greater deformation a cooling off of the specimen due to the thermo-elastic effect (the diagram in the middle). On the other hand, in the further course of the experiment, due to the effect of the deformation force in the area of plastic deformation, a constant heating of the specimen up to fracture takes place.
Components Testing
In the area of testing of components or parts, the GOM ARAMIS system and the InfraTec infrared cameras can be used in the same way to obtain valuable information about the thermal and mechanical component behavior, so that the temperature and deformation data can be used for validation of the numerical simulations. Further information about the validation of numerical simulations can be found in the GOM online event at YouTube.
